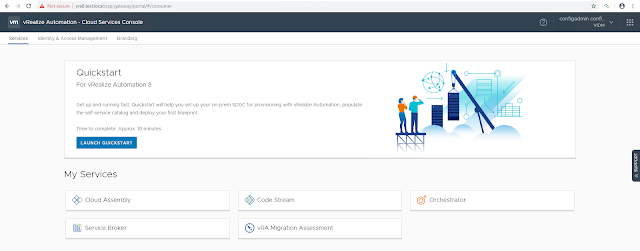
In this article, I will briefly explain how to set up your on-prem SDDC infrastructure for provisioning with vRA 8.0 using quickstart wizard. Follow my previous blog post vRA 8.0 - Part1 for the complete installation procedure. After a successful deployment, you can access the vRA Cloud Services Console.
Click Launch Quickstart.
Provide vCenter server details and click Validate.
Select the datacenter to allow provisioning and click Create and go to next step.
Select the NSX version if you have it configured in your environment. In my case, I don't have NSX. So select None and click Create and go to next step.
Provide the basic configuration details like Datacenter, Template, Datastore, and Network. Quickstart will use this info to create your first blueprint and releases it to the catalog. This can be used for your first deployment. Here I've selected a centos7 template.
Click Next step.
Select governance policies. I am using the defaults. Click Next step.
Note that here I did not select to "Automatically deploy my template when quickstart completed". In this case, a blueprint will be created and releases it to the catalog. You can request the catalog item to deploy it.
Once all the steps are completed, click Close.
At this point, a blueprint will be created under the quickstart project. And it can be seen under Cloud Assembly > Blueprints.
This blueprint is available as a catalog item. It can be seen under Service Broker > Catalog Items.
Hope it was useful. Cheers!


