Wednesday, December 12, 2018

Inactive or missing VMware VMFS datastore

Today I came across a situation where one of the shared VMFS datastores in a 4 node ESXi 6.5 cluster was found missing/ inactive after a planned reboot. This post is about the steps I followed to resolve this issue/ re-mount the inactive shared datastore.

On a ESXi node, to list the datastores that are available to mount: esxcfg-volume –l
To mount the available datastore: esxcfg-volume –M <UUID>

Sample screenshot is given below:


Hope it was useful. Cheers!

Reference:
https://community.spiceworks.com/topic/2108624-missing-datastore-after-upgrade-from-esxi-6-0-to-6-5

Saturday, November 17, 2018

Real time VMware VM resource monitoring using PowerShell

This post is about monitoring resource usage of a list of virtual machines hosted on VMware ESXi clusters using PowerCLI. Output format is given below which gets refreshed automatically every few seconds.

Prerequisites:
  • VMware.PowerCLI module should be installed on the node from which you are running the script
  • You can verify using: Get-Module -Name VMware.PowerCLI -ListAvailable
  • If not installed, you can find the latest version from the PSGallery: Find-Module -Name VMware.PowerCLI
  • Install the module: Install-Module -Name VMware.PowerCLI
Note:
  • I am using PowerCLI Version 11.0.0.10380590

Latest version of the project and code available at: github.com/vineethac/vmware_vm_monitor

    Sample screenshot of output:


    Notes:

    VMware guidance: CPU Ready time and Co-Stop values per core greater than 5% and 3% respectively could  be a performance concern.

    Hope this will be useful for resource monitoring as well as right sizing of VMs. Cheers!

    References:

    Saturday, October 20, 2018

    Real time VMware datastore performance monitoring using PowerShell

    I had a scenario where we had to monitor the real time performance statistics of multiple shared VMFS datastores which are part of a multi-node VMware ESXi cluster. So this post is about the short script which uses VMware PowerCLI to get read/ write IOPS and latency details of these shared datastores across all nodes in the cluster. The output format is given below which gets refreshed automatically every few seconds.

    Prerequisites:
    • VMware.PowerCLI module should be installed on the node from which you are running the script
    • You can verify using: Get-Module -Name VMware.PowerCLI -ListAvailable
    • If not installed, you can find the latest version from the PSGallery: Find-Module -Name VMware.PowerCLI
    • Install the module: Install-Module -Name VMware.PowerCLI
    Note:
    • I am using PowerCLI Version 11.0.0.10380590


    Latest version of the project and code available at: github.com/vineethac/datastore_perfmon

    Sample screenshot of output:


    Hope it was useful. Cheers!

    Reference:

    Saturday, September 15, 2018

    Working with iDRAC9 Redfish API using PowerShell - Part 2

    In this article I will explain briefly about the JSON response from iDRAC and how you can navigate through the Redfish API tree structure to get all the required information. Now, lets have a look at the URIs. 

    Query the computer system collection:
    $result1 = Invoke-RestMethod -Uri "https://$($idrac_ip)/redfish/v1/Systems" -Credential $Credentials -Method Get -UseBasicParsing -ContentType 'application/json'

    Response: 

    You can see one member with URI /redfish/v1/Systems/System.Embedded.1

    Below is a sample screen shot of JSON output when you try to query the above listed member system. 


    You can get some of the basic information straight away from the above JSON response. And these are organized in hierarchy where you can drill down to each object and get the required details. Below diagram shows basic iDRAC Redfish API tree structure.


    Example: You can get details/ health status of  storage controller as shown below.

    Query:
    $result2 = Invoke-RestMethod -Uri "https://$($idrac_ip)/redfish/v1/Systems/System.Embedded.1/Storage /Controllers/NonRAID.Integrated.1-1" -Credential $Credentials -Method Get -UseBasicParsing -ContentType 'application/json'

    Sunday, August 26, 2018

    Working with iDRAC9 Redfish API using PowerShell - Part 1

    Redfish is a industry standard protocol and specification defined by Distributed Management Task Force (DMTF) for performing systems/ IT infrastructure management actions using RESTful methodology. It is a next generation systems management interface standard which is simple, secure, scalable. Redfish uses JSON data format and transports payload over HTTPS. Initial releases of Redfish focused primarily on systems management and was targeted to be a replacement for IPMI over LAN protocol. Now the capabilities have been extended over the past few years providing a rich set of features and support for network, memory, storage devices etc. Over time the scope of Redfish is being expanded to fit more use cases as the forum is working with several partner organizations. Promoters of this standard include several companies like Broadcom, Cisco, Dell, HP, VMware, Intel, Microsoft etc.

    Now, lets have a look at how to connect to iDRAC Redfish API using PowerShell. Redfish provides two authentication methods. Basic authentication and Session-based authentication. Here I will explain basic authentication using username and password for each Redfish API request to iDRAC.

    #To fix the connection issues to iDRAC REST API
    add-type @"
        using System.Net;
        using System.Security.Cryptography.X509Certificates;
        public class TrustAllCertsPolicy : ICertificatePolicy {
        public bool CheckValidationResult(
            ServicePoint srvPoint, X509Certificate certificate,
            WebRequest request, int certificateProblem) {
            return true;
            }
        }
    "@

    [System.Net.ServicePointManager]::CertificatePolicy = New-Object TrustAllCertsPolicy
    [System.Net.ServicePointManager]::SecurityProtocol = [System.Net.SecurityProtocolType]::Tls12 -bor [System.Net.SecurityProtocolType]::Tls11

    #Get iDRAC creds
    $Credentials = Get-Credential -Message "Enter iDRAC Creds"

    #URI to get basic system info
    $u1 = "https://192.168.10.11/redfish/v1/Systems/System.Embedded.1"

    #Using Invoke-RestMethod
    $result1 = Invoke-RestMethod -Uri $u1 -Credential $Credentials -Method Get -UseBasicParsing -ContentType 'application/json' -Headers @{"Accept"="application/json"}

    Output:


    Hope it was useful. Cheers!

    References:
    iDRAC9 Redfish API reference guide
    github.com/dell/iDRAC-Redfish-Scripting

    Sunday, July 29, 2018

    Switch configuration backup using PowerShell

    In this article, I will briefly explain how to backup running configuration of your Dell switches to a TFTP server location using PowerShell.

    Prerequisites

    • A TFTP server should be configured and running
    Workflow
    1. Get a list of IP address of switches that needs to be backed up
      list = Get-Content .\switch_list.txt
    2. Collect credentials to SSH into the switch
      $creds = Get-Credential
    3. Create a new SSH session to the first switch in the list
      $sw_ssh = New-SshSession -ComputerName 192.168.10.2 -Credential $creds -Force -ConnectionTimeout 300
    4. Invoke the command to backup running config to TFTP server over the SSH session
      $filename =(Get-Date).tostring("dd-MM-yyyy-hh-mm-ss")
      $cmd_backup = "copy running-config tftp://192.168.11.33/sw01/$filename.txt"
      Invoke-sshcommand -Command $cmd_backup -SSHSession $sw_ssh
    5. Repeat step 3 and 4 for all the switches in the list
    Complete project reference

    Note
    You can schedule this PS script using a task scheduler so that the running configuration of switches can be backed up automatically on a daily basis or as per requirements.

    Hope this was useful. Cheers!

    Related article
    Cisco switch configuration backup using PowerShell

    Saturday, June 30, 2018

    Introduction to Nutanix cluster components

    In this article I will briefly explain about the different components of a Nutanix cluster. The major components are listed below.

    Nutanix cluster components
    1. Stargate: Data I/O manager for the cluster.
    2. Medusa: Access interface for Cassandra.
    3. Cassandra: Distributed metadata store.
    4. Curator: Handles Map Reduce cluster management and cleanup.
    5. Zookeeper: Manages cluster configuration.
    6. Zeus: Access interface for Zookeeper.
    7. Prism: Management interface for Nutanix UI, nCLI and APIs.
    Stargate
    • Responsible for all data management and I/O operations.
    • It is the main point of contact for a Nutanix cluster.
    • Workflow: Read/ write from VM < > Hypervisor < > Stargate.
    • Stargate works closely with Curator to ensure data is protected and optimized.
    • It also depends on Medusa to gather metadata and Zeus to gather cluster configuration data.
    Medusa
    • Medusa is the Nutanix abstraction layer that sits infront of DB that holds the cluster metadata.
    • Stargate and Curator communicates to Cassandra through Medusa.
    Cassandra
    • It is a distributed high performance and scalable DB.
    • It stores all metadata about all VMs stored in a Nutanix datastore.
    • It needs verification of atleast one other Cassandra node to commit its operations.
    • Cassandra depends on Zeus for cluster configuration.
    Curator
    • Curator constantly access the environment and is responsible for managing and distributing data throughout the cluster.
    • It does disk balancing and information life cycle management.
    • It is elected by a Curator master node who manages the task and job delegation.
    • Master node coordinates periodic scans of the metadata DB and identifies cleanup and optimization tasks tat Stargate or other components should perform.
    • It is also responsible for analyzing the metadata, this is shared across all Curator nodes using a Map Reduce algorithm. 
    Zookeeper
    • It runs on 3 nodes in the cluster.
    • It can be increased to 5 nodes of the cluster.
    • Zookeeper coordinates and distributes services.
    • One is elected as leader.
    • All Zookeeper nodes can process reads.
    • Leader is responsible for cluster configuration write requests and forwards to its peers.
    • If leader fails to respond, a new leader is elected.
    Zeus
    • Zeus is the Nutanix library interface which all other components use to access cluster configuration information.
    • It is responsible for cluster configuration and leadership logs.
    • If Zeus goes down, all goes down!
    Prism
    • Prism is the central entity of viewing  activity inside the cluster.
    • It is the management gateway for administrators to configure and monitor a Nutanix cluster.
    • It also elects a node.
    • Prism depends on data stored in Zookeeper and Cassandra.

    Note: All the info provided above are based on Nutanix 4.5 Platform Professional (NPP) administration course.

    Wednesday, May 30, 2018

    Creating HTML report of ScaleIO cluster using PowerShell

    This post is a reference to a small reporting script for ScaleIO environments. The project will generate a brief HTML report of your ScaleIO Ready Node SDS infrastructure (with AMS - Automated Management Services) by making use of ScaleIO Ready Node AMS REST APIs and PowerShell. The report provides information about MDM cluster state, overall cluster capacity, system objects, alerts, and health state of all disks in the cluster. Here the API is available as part of ScaleIO Ready Node AMS. These AMS REST API allows you to query information and perform actions related to ScaleIO software and ScaleIO Ready Node hardware components. To access the API you need to provide AMS username and password. Responses returned by AMS server are formatted in JSON format.

    Project referencehttps://github.com/vineethac/sio_report

    Use case
    : This script can be used/ leveraged as part of daily cluster health/ stats reporting process, or something similar; so that monitoring Engineers or whoever responsible can have a look at it on a daily basis to make sure everything is healthy and working normal. 

    Related references:

    Hope this was helpful. Cheers!

    Monday, April 30, 2018

    Infrastructure testing using Pester - Part 3

    In this article, I will explain briefly about how to use Pester to validate your switching infrastructure/ switch configurations. If your switches have incorrect configurations, you will experience several problems like network disconnections, high latency, low throughput, etc. And all these will contribute towards network performance issues. In a hyper-converged infrastructure, incorrect switch configurations will affect both compute and storage performance. So it is very important to make sure your switches are configured in the right way according to best practice recommendations.

    Using Pester tests, you can define the expected configuration rules and execute it against your existing switches to verify everything is configured correctly or not.

    Here in this example, I will show how to verify the below.
    • Networking OS version (here I am using Dell EMC S5048F-ON switch)
    • The interfaces are Up (given a range)
    • A given set of VLANs are present and Up

    Prerequisite PowerShell modules:
    • Pester - Version 4.3.1
    • Posh-SSH - Version 2.0.2

    Note: I am using Powershell 5.1.14393.0

    #Collect input 
    #Provide interface range to verify status
    [int]$Start_port = Read-host "Enter starting switch port number"
    [int]$End_port = Read-host "Enter ending switch port number"
    #Provide VLANs to verify status
    [int[]]$vlans = 20,23
    $check_vlans = @{}

    #New SSH session to the Switch 
    $sw_creds = Get-Credential -Message "Enter switch creds"

    Write-Host "Creating new SSH session to Switch."
    $SWssh = New-SSHSession -ComputerName 192.168.10.4 -Credential $sw_creds -Force -ConnectionTimeout 300
    Write-Host "Collecting configuration details from Switch. This will take few seconds."
    Start-Sleep -s 3

    Write-Host "Collecting VLAN details from Switch. This will take few seconds."
    for ($j=0; $j -lt $vlans.Count; $j++) {
        Write-Host "Collecting details of VLAN $($vlans[$j])"
        $cmd_vlan = "show interfaces vlan $($vlans[$j])"
        $check_vlan = invoke-sshcommand -Command $cmd_vlan -SSHSession $SWssh
        Start-Sleep -s 3
        $check_vlans[$j] = $check_vlan.Output
    }

    #Collecting networking OS info 
    $Networking_OS = Invoke-SSHCommand -SSHSession $SWssh -Command "show system"
    Start-Sleep -s 3

    #Collecting interface status details
    $interface_cmd =  "show interfaces twentyFiveGigE 1/$Start_port-1/$End_port"
    $interface_status = Invoke-SSHCommand -SSHSession $SWssh -Command $interface_cmd

    Write-Host "Configuration verification started.`n"

    Describe "System basic checks" {
        Context "Check networking OS version" {
            It "Should be Dell EMC Networking OS Version : 9.12(1.0)" {
                ($Networking_OS.Output) -match 'Dell EMC Networking OS Version : 9\.12\(1\.0\)\s\s$' | Should be $true
            }
        }
    }

    $Global:i=1

    Describe "Interface checks" {
        for ($i=$Start_port; $i -le $End_port; $i++{
            Context "Interface should be UP" {
                It "Interface 1/$i should be UP" {
                     $Global:c1 = "twentyFiveGigE 1/$i is up, line protocol is up"
                     $res = ($interface_status.Output) -match $c1
                     $res | should be $true
                }
            }
        }
    }

    Describe "VLAN checks" {
        for ($j=0; $j -lt $vlans.Count; $j++) {
            Context "Check VLAN $($vlans[$j])" {
                 It "Should contain VLAN $($vlans[$j])" {
                      $check = ($check_vlans[$j]) -match '% Error: No such interface'
                      $check | should be $null
                      Write-host $check
                 }
                 It "VLAN $($vlans[$j]) should be UP" {
                      $tt = "Vlan $($vlans[$j]) is up, line protocol is up"
                      $t3 = ($check_vlans[$j]) -match $tt
                      $t3 | should be $true
                 }
            }
        }
    }

    Remove-SSHSession -SSHSession $SWssh
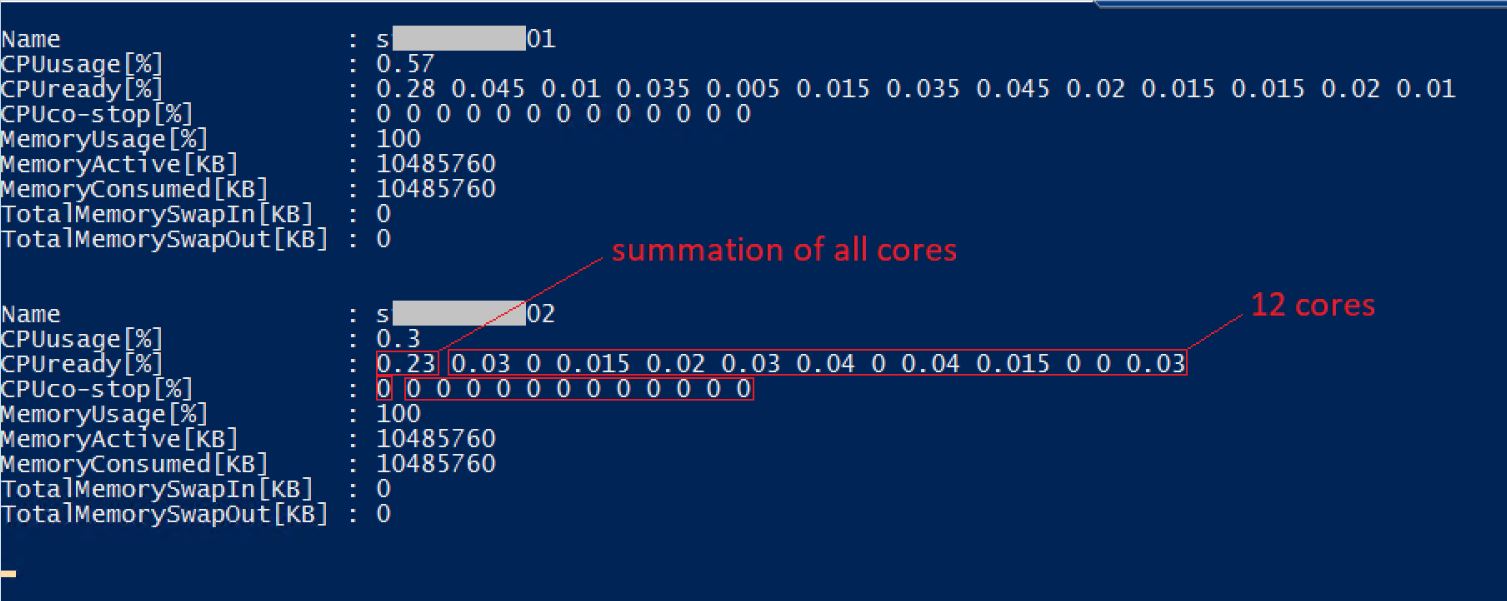
    #Sample output

    You can write custom Pester tests according to your switching infrastructure configuration, where you can verify port channels, VLAN membership of switch ports, VLT configuration etc. Hope this was helpful. Cheers!