In this article, I will briefly explain the configuration of a remote collector node and a sample scenario too.
Note: Before adding the remote collector nodes a vROps master node should be present.
Consider the following scenario:


Select Finish adding new nodes.

Click OK.


Now log in to the master vROps instance.
Select Administration > Management > Collector Groups.
You can see only the master node is part of the Default collector group.
Click Create collector Group (+).

Provide a name and select the remote collector node.

Now you can see the remote collector node is part of the newly created collector group.

Click Configure (gear icon).

Click (+) to add a new vCenter adapter and provide the necessary details.

In the advanced settings, select the collector group.

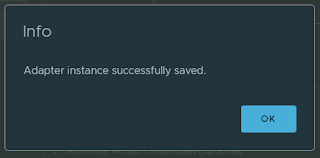
Click Test connection, Accept and save settings.


Note: Before adding the remote collector nodes a vROps master node should be present.
Refer to my previous blogs for the installation and configuration of the vROps master node and enabling high availability. Here I have a single node vROps 7.5 instance which is a master and I will be expanding it with a remote collector node.
Consider the following scenario:
Datacenter A is the head office where the vROps master is installed. Datacenter B and C need to be monitored using the vROps instance configured at Datacenter A. In this case, Remote Collector nodes are installed at Datacenter B and C. As per VMware recommendation the latency between sites should be 200ms or less.

Refer vROps 7.5 reference architecture for recommendations from VMware on different deployment profiles and other best practices.
Deploy a vROps instance at the remote location and open its management IP address in a web browser.
Click on Expand an existing installation.

Click Next.

Provide a name for the collector node and select node type Remote Collector.
Enter IP of vROps master node and click Validate.

Click Next.

Provide cluster admin password and click Next.

Click Finish.

This may take around 6-8 minutes to complete.

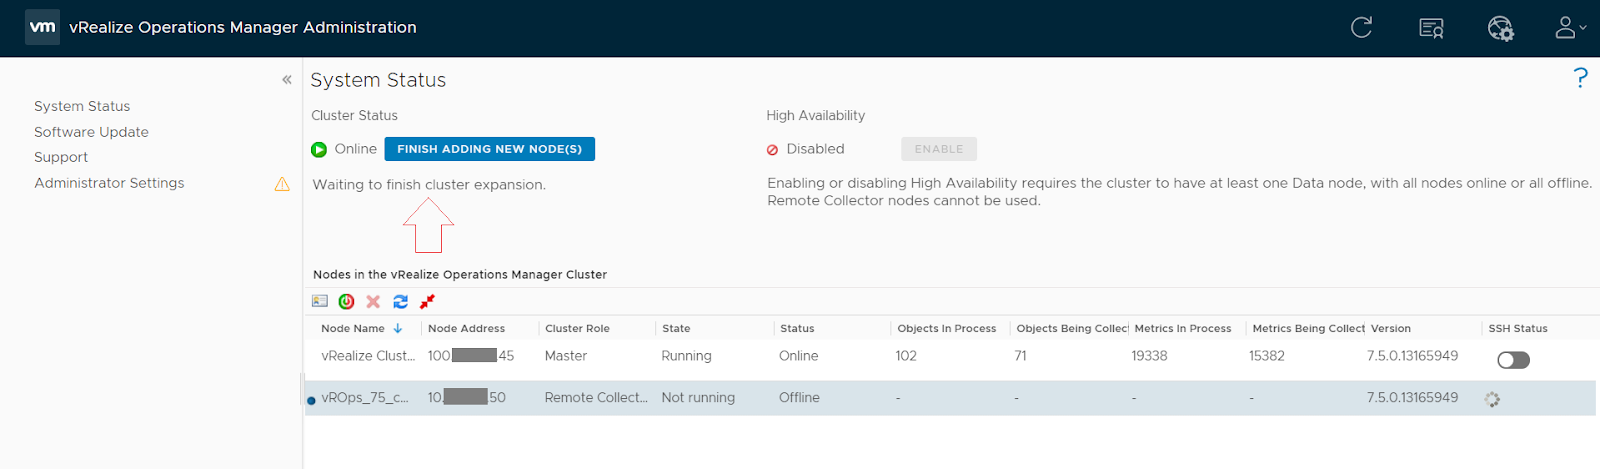
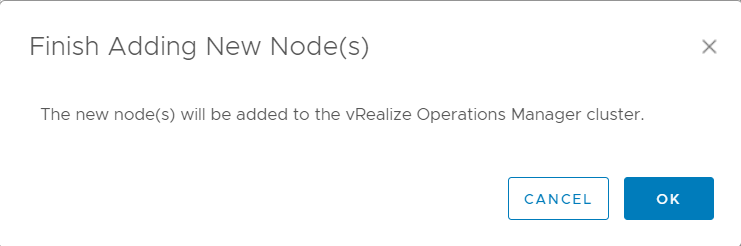
Select Finish adding new nodes.
Click OK.

The remote collector is now part of the cluster.

Now log in to the master vROps instance.
Select Administration > Management > Collector Groups.
You can see only the master node is part of the Default collector group.
Click Create collector Group (+).

Provide a name and select the remote collector node.

Now you can see the remote collector node is part of the newly created collector group.

Now, we will add a vCenter Adapter instance that will monitor the vCenter server of the remote site using the newly added remote collector node.
Click Administration > Solutions > Configuration > VMware vSphere.Click Configure (gear icon).

Click (+) to add a new vCenter adapter and provide the necessary details.

In the advanced settings, select the collector group.

Click Test connection, Accept and save settings.

Click OK.

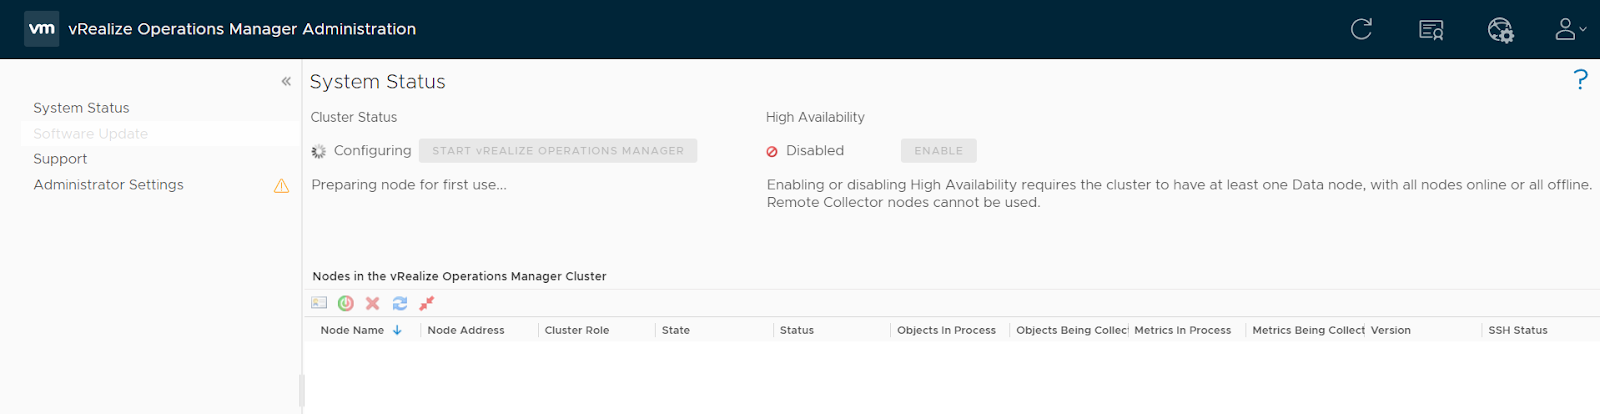
Verify the collection state and status.

Hope it was useful. Cheers.