Showing posts with label Dockerfile. Show all posts

Sunday, December 3, 2023

Kubernetes mini project

In this mini project, we are going to learn the following:

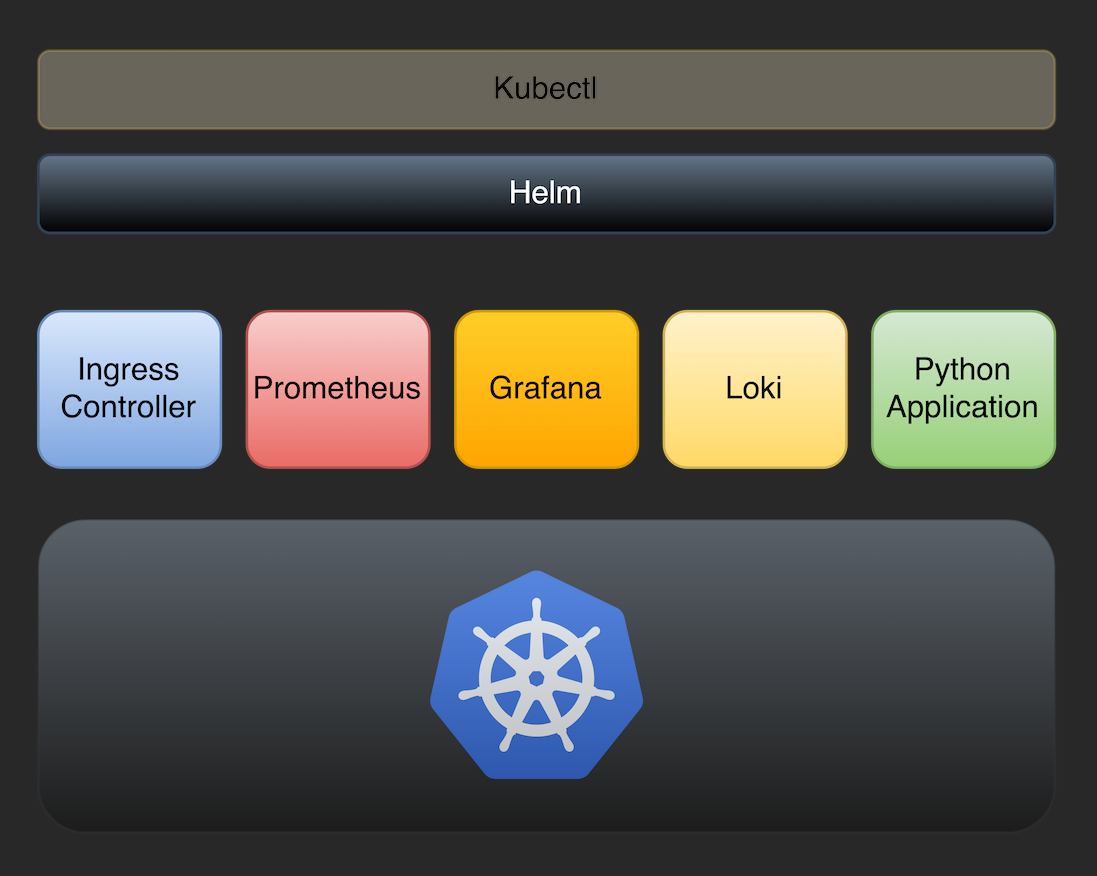
  • Deploy a simple Python based web application on a Kubernetes cluster.
  • We will use Helm to deploy this app.
  • This web app uses FastAPI and exposes some metrics using the Prometheus Python client.
  • To store and visualize these metrics we will deploy Prometheus and Grafana in the K8s cluster.
  • We will also deploy and use an ingress controller for exposing the web app, Prometheus, and Grafana to external users.
  • For logging we will deploy and use Grafana Loki stack.


Full project in my GitHub

High-level steps to complete this project

Step1: Write the Python app.

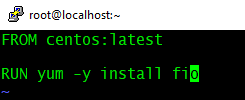
Step2: Create the Dockerfile for the app.

Step3: Create the container image.

Step4: Push the container image to an image registry like Docker Hub.

Step5: Get access to a K8s cluster.

Step6: Deploy an ingress controller.

Step7: Create the Helm chart for your app and deploy it to the K8s cluster.

Step8: Deploy Prometheus stack on the K8s cluster using Helm.

Step9: Create a servicemonitor resource which defines the target to be monitored by Prometheus.

Step10: Verify targets and service discovery in Prometheus.

Step11: Configure Grafana dashboard and verify.

Step12. Deploy Grafana Loki stack using Helm.


Hope it was useful. Cheers!

Wednesday, October 23, 2019

Docker 101 - Part4 - Creating images using dockerfile

In this article, I will briefly explain how to create your own image using Dockerfile. For example, I will be creating an FIO image. FIO is a storage stress test tool and this image can be used for container storage IO benchmarking/ testing.

  • Login to the CentOS docker host.
  • Create a file named "Dockerfile".
  • # vi Dockerfile
  • Add the below two lines and save it.

  • # docker build ./

  • Once the build is complete, it returns the IMAGE ID as shown below.
  • You can use the "docker tag" command to mention a repository and tag to the image. 

  • At this stage, as shown in the above screenshot, the FIO image is created with repository "vineethac/fio_image" and tagged as "latest".
  • You can run this image as given below.

  • # docker run -dit --name FIO_test01 --mount source=disk_data,target=/vol vineethac/fio_image fio --name=RandomReadTest1 --readwrite=randread --rwmixwrite=0 --bs=4k --invalidate=1 --direct=1 --filename=/vol/newfile --size=10g --time_based --runtime=300 --ioengine=libaio --numjobs=2 --iodepth=1 --norandommap --randrepeat=0 --exitall


  • The above command will start a container with FIO application running inside it. FIO will use "/vol/newfile" for IO tests. "/vol" is using "disk_data" directory which is inside "/var/lib/docker/volumes". Once the test is complete, the container will exit.

Hope it was useful. Cheers!

Related posts


Docker 101 - Part3 - Persisting data using volumes

Docker 101 - Part2 - Basic operations

Docker 101 - Part1 - Installation