Showing posts with label vrealize. Show all posts

Monday, December 16, 2019

vRealize Automation 8 - Part1 - Installation

Background


  • vRealize Automation (vRA) has two consumption models now:
    • vRA on-prem
    • vRA cloud (SAAS offering)
  • From vRA 8.0 onwards the same code being used in vRA cloud is taken and packaged together for on-prem use.
  • vRA 8.0 is focused on greenfield environments (new vRA deployments).
  • If you want to upgrade from vRA 7.x VMware recommends waiting until vRA 8.x as it will have a migration tool that helps the upgrade process. 

Before starting the installation process, I strongly recommend you to go through the below documentation links.


Installation


Download the installer ISO file and mount it. If you are running it from a Windows machine, browse to win32 folder and run installer.exe file. During the installation process first LCM VM will be deployed and it is responsible for deploying IDM and vRA VMs.

Note: Make sure DNS entries for LCM, IDM, and vRA are present and resolvable.

Click install.


Click next.


Accept EULA.


Provide vCenter details.


Accept.


Select a datacenter location.


Select a compute cluster.


Select a datastore.


Provide network configuration details.


Set password.


Provide LCM config details.


Provide IDM config details.


Provide vRA config details.


Review summary.


Click submit to start the installation process.


Once the installation is successful you will get the following URLs to navigate to vRSLCM and vRA UI.
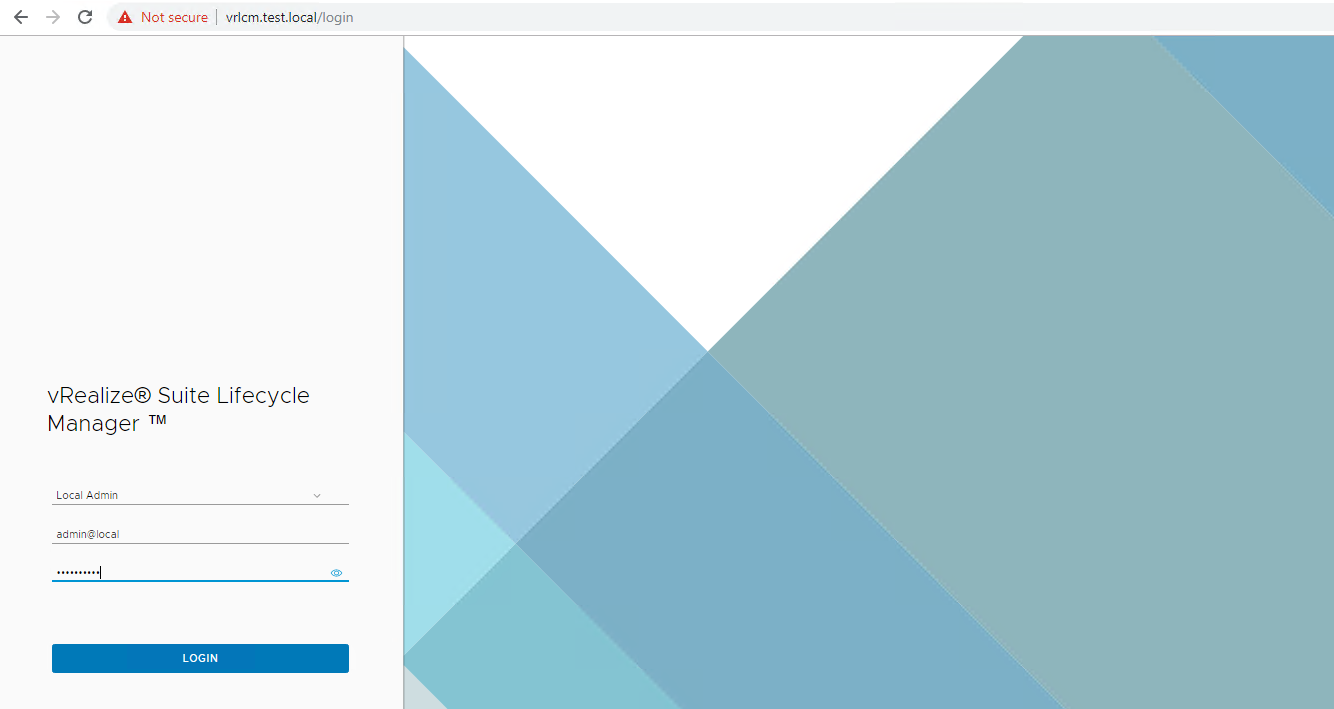

Login to LCM.


Login to vRA.


Provide creds.


There you go! vRA 8.0 is successfully deployed.


Hope it was useful. Cheers!

References


Tuesday, July 9, 2019

vRealize Operations Manager 7.5 - Part5 - Alerting

Alerting is a very important aspect of infrastructure monitoring. vROps has very powerful alerting capabilities. It might look a bit complicated for the first time. A good understanding of symptoms, alert definitions, badges, notification rules, etc. are required to effectively utilize the maximum functionality/ capabilities of vROps. In this post, I will try to explain all these alert settings. Before getting into the configurations, first, let's have a look at objects and object types in vROps.

Objects and object types


As you can see in the screenshot above there are many objects of type "Datastore". All these objects/ object types have "Metrics" and "Properties". Click on the "Show Detail" icon as shown below to view more details of the selected object.


Metrics and Properties

"Metrics" and "Properties" of the object "vol03" is shown below.


Symptom definitions and alert definitions

Based on the value of metrics/ property you can define symptoms with criticality Info, warning, critical, etc. Using symptom definitions alert definitions can be created and this generates corresponding alerts and will directly affect the badges associated with the object. Now let's have a look at some of the symptom definitions and alert definitions that are pre-defined in vROps for the "vCenter Adapter". Here I am taking an example of object type "Datastore".


Examples: Symptom definition

Select a symptom definition and click edit.


As you can see, this symptom definition produces a warning alert when any datastore "capacity used %" is greater than 90.


Another symptom definition is given below where an info alert will be generated when space remaining on the datastore is 0.


Example: Alert definition

As shown in the screenshot below there are few pre-defined alert definitions for object type "datastore". 


Let's select one alert definition.


Now, if you would like to forward these alerts to an email address or an SNMP trap destination, you will need to configure two things.
  1. Outbound instance
  2. Alert notification rules

Add outbound instance

I will be configuring an SNMP trap destination. Go to Administration - Management - Outbound settings - click on the + icon. Provide necessary details and test to ensure the connection is successful.


Add alert notification rule

By default, no notification rules are available in vROps. User has to create new rules as per the requirement. Go to Alerts - Alert settings - Notification settings - click on the + icon and provide necessary configuration details. As an example, I will configure alert notification rule to forward all datastore related alerts to an SNMP trap destination.


The above rule will forward all the alerts that impact health, risk, and efficiency badges of datastore object to the configured SNMP trap destination.

Summary of the alerting process in vROps


Wednesday, July 3, 2019

vRealize Operations Manager 7.5 - Part4 - High availability

In this post, I will explain the steps to expand an existing vROps installation and enable high availability.

Before making a design/ architecture decision on enabling high availability for vROps I strongly recommend you to go through the below VMware vROps documentation links and understand the functional/ technical implications of it.

  1. About vRealize Operations Manager High Availability
  2. High Availability Considerations
  3. About vRealize Operations Manager Cluster Nodes

Expand an existing installation


Deploy a new vROps appliance. Once the deployment is complete, open the management IP of the appliance in a web browser. This time select expand an existing installation


Click next.

Provide a name for this new node.
Select the node type as "Data".
Provide the IP address or FQDN of the master node and click validate.
Accept the certificate and click next.


Provide admin password and click next.

Note: If you don't know the admin password you can request the vROps admin to provide a shared pass-phrase and can use it.

Click finish.

After this step, you will be redirected automatically to the admin page.


As you can see in the above screenshot, installation is in progress and is waiting to finish the cluster expansion. It may take a few minutes. Once it is complete you can see a button to "Finish adding new node(s)".


Click "Finish adding new node(s)" and click ok.


This will take a few minutes.


Now, you can see that the new data node is online and running. Next step is to enable high availability.  


Enable High Availability


To configure high availability, click "Enable".

Cluster Restart Required: The cluster needs to be restarted in order to configure HA. This may require up to 20 minutes during which vRealize Operations Manager will not be available.

To ensure complete protection the two nodes (Master and Replica) should not share hardware.

Click Ok.
Click "Yes" to continue HA configuration.


This will take a few minutes. The cluster will be taken offline for enabling HA.


After a few minutes, the cluster is back online and HA is enabled. And as you can see in the below screenshot one node is "Master" and the other one is "Master Replica".


vROps also has dashboards that provide you details on the health status of the complete vROps environment, cluster statistics and performance details of vROps itself, etc. Sample screenshot of the "Self Health" dashboard is shown below.  


Hope it was useful. Cheers!

Related posts:


Monday, July 1, 2019

vRealize Operations Manager 7.5 - Part3 - Rightsizing

In this article, I will briefly explain a performance optimization feature in vROps. This feature will help the user/ customer to easily find out a list of oversized and undersized VMs. vROps will provide recommendations on allocating the right amount of resources to the VM. 

Rightsizing


As you can see in the screenshot above, there are 29 VMs that are oversized. And vROps is providing recommendations on the amount of CPU and memory reduction that can be done to optimize performance. Oversizing always have a negative impact on the performance and it is recommended to allocate the right amount of resources to a VM for optimal performance. Let's take an example of one of the VM. 


You can see that the recommendation by vROps is to reduce 8 vCPUs and 15 GB of memory. This recommendation is based on the analytics and forecasting capabilities of vROps. You can click on the VM name and it will show more details regarding the selected VM.


vROps also provides a way to resize the VMs directly from the console. You can select the VMs that you would like to resize, and click "RESIZE VM(S)".


NOTE: The workloads may be interrupted as it may require restart during resizing. 

VMware guidance: CPU Ready time and Co-Stop values per core greater than 5% and 3% respectively could be a performance concern. 

Hope it was useful. Cheers!

Related posts: